

Getting people's attention to your site can be extremely difficult.
But lucky for us, there are tools out there that can help make this super easy, and also do some A/B testing, so you know what's working and what's not working.
Today, I wanted to go through an awesome tool that we use here at Revcarto called Hello Bar.
Hello Bar is an awesome software that allows you to add things like pop-ups, screen takeovers, alert bars, and a bunch of different effects to grab people's attention and keep it.
And the best part is that you can even segment audiences and track specific metrics.
On their platform, it'll actually show you different statistics depending on what bar or feature you're using.
It also integrates with tools such as Zapier, so that you can actually connect it to other third-party software, no matter what your site's made with.
It's just as easy as copying some code, throwing it on your site, and then tracking their performance.
Today we'll go into all of that.
I'll give you guys a full walkthrough and by the end, you'll know exactly how to use the software, why you should use it, and if it's the right one for you.
So let's get started.
Intro to Hello Bar
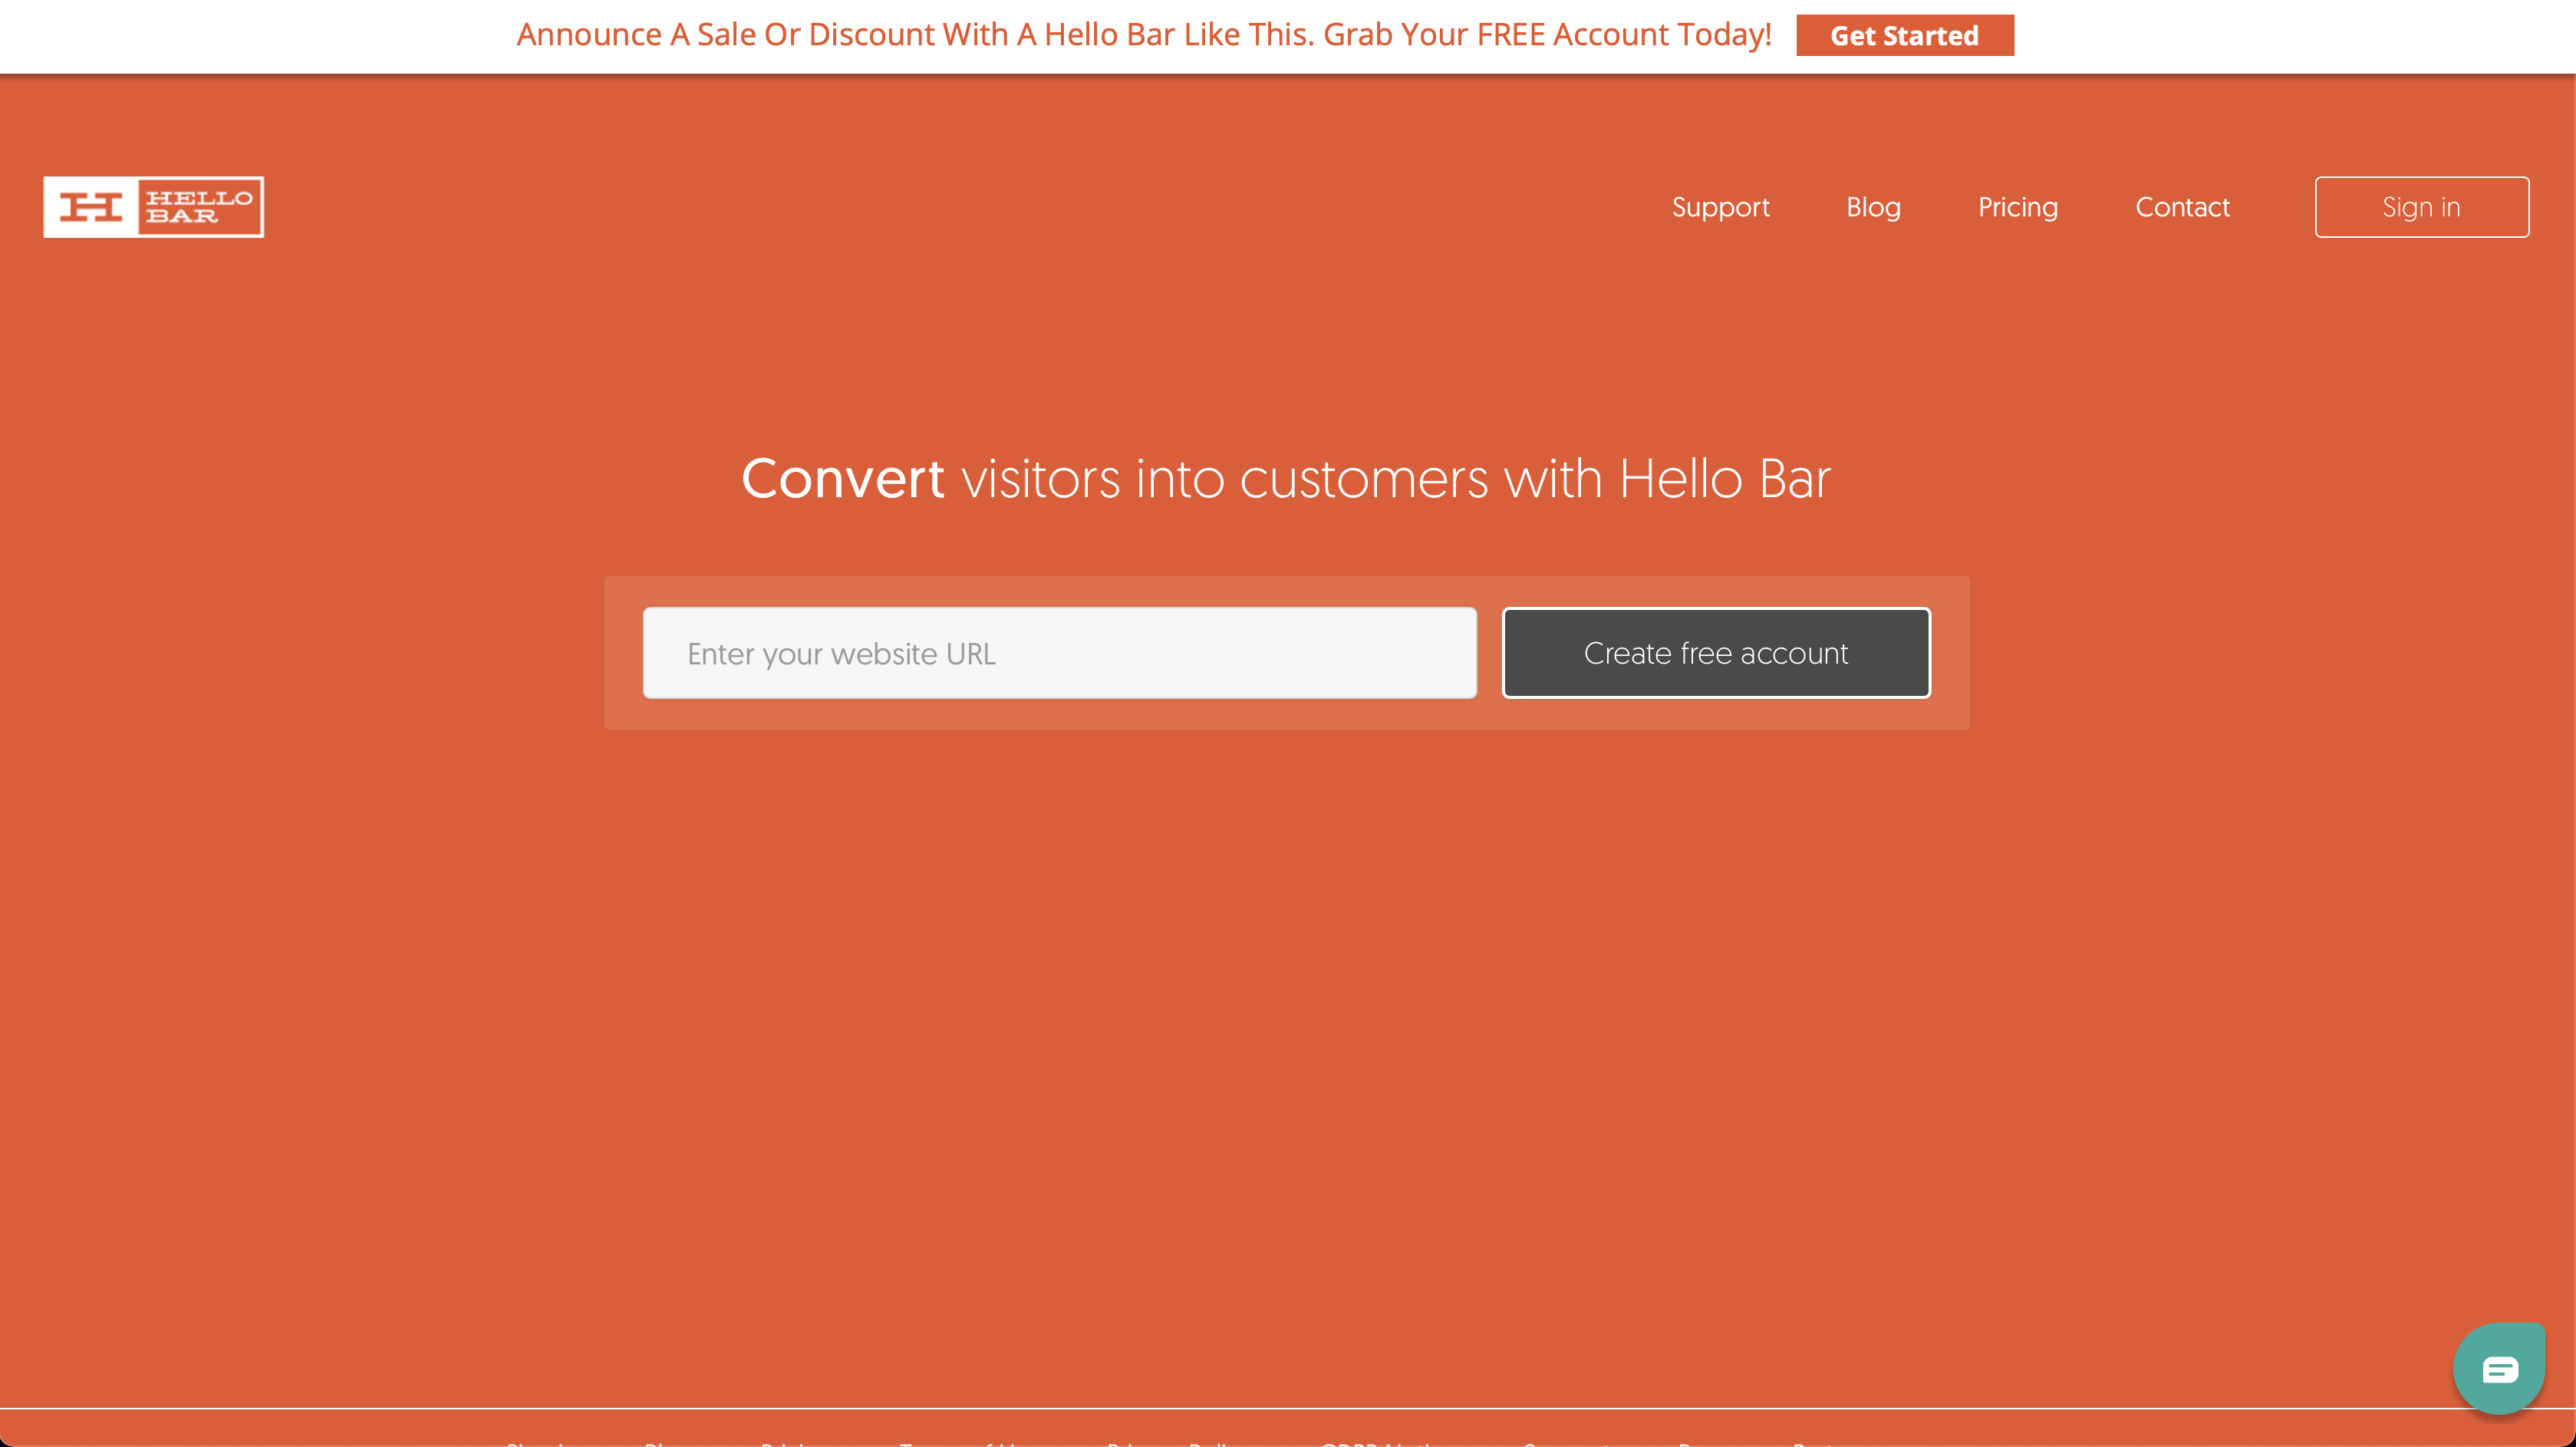
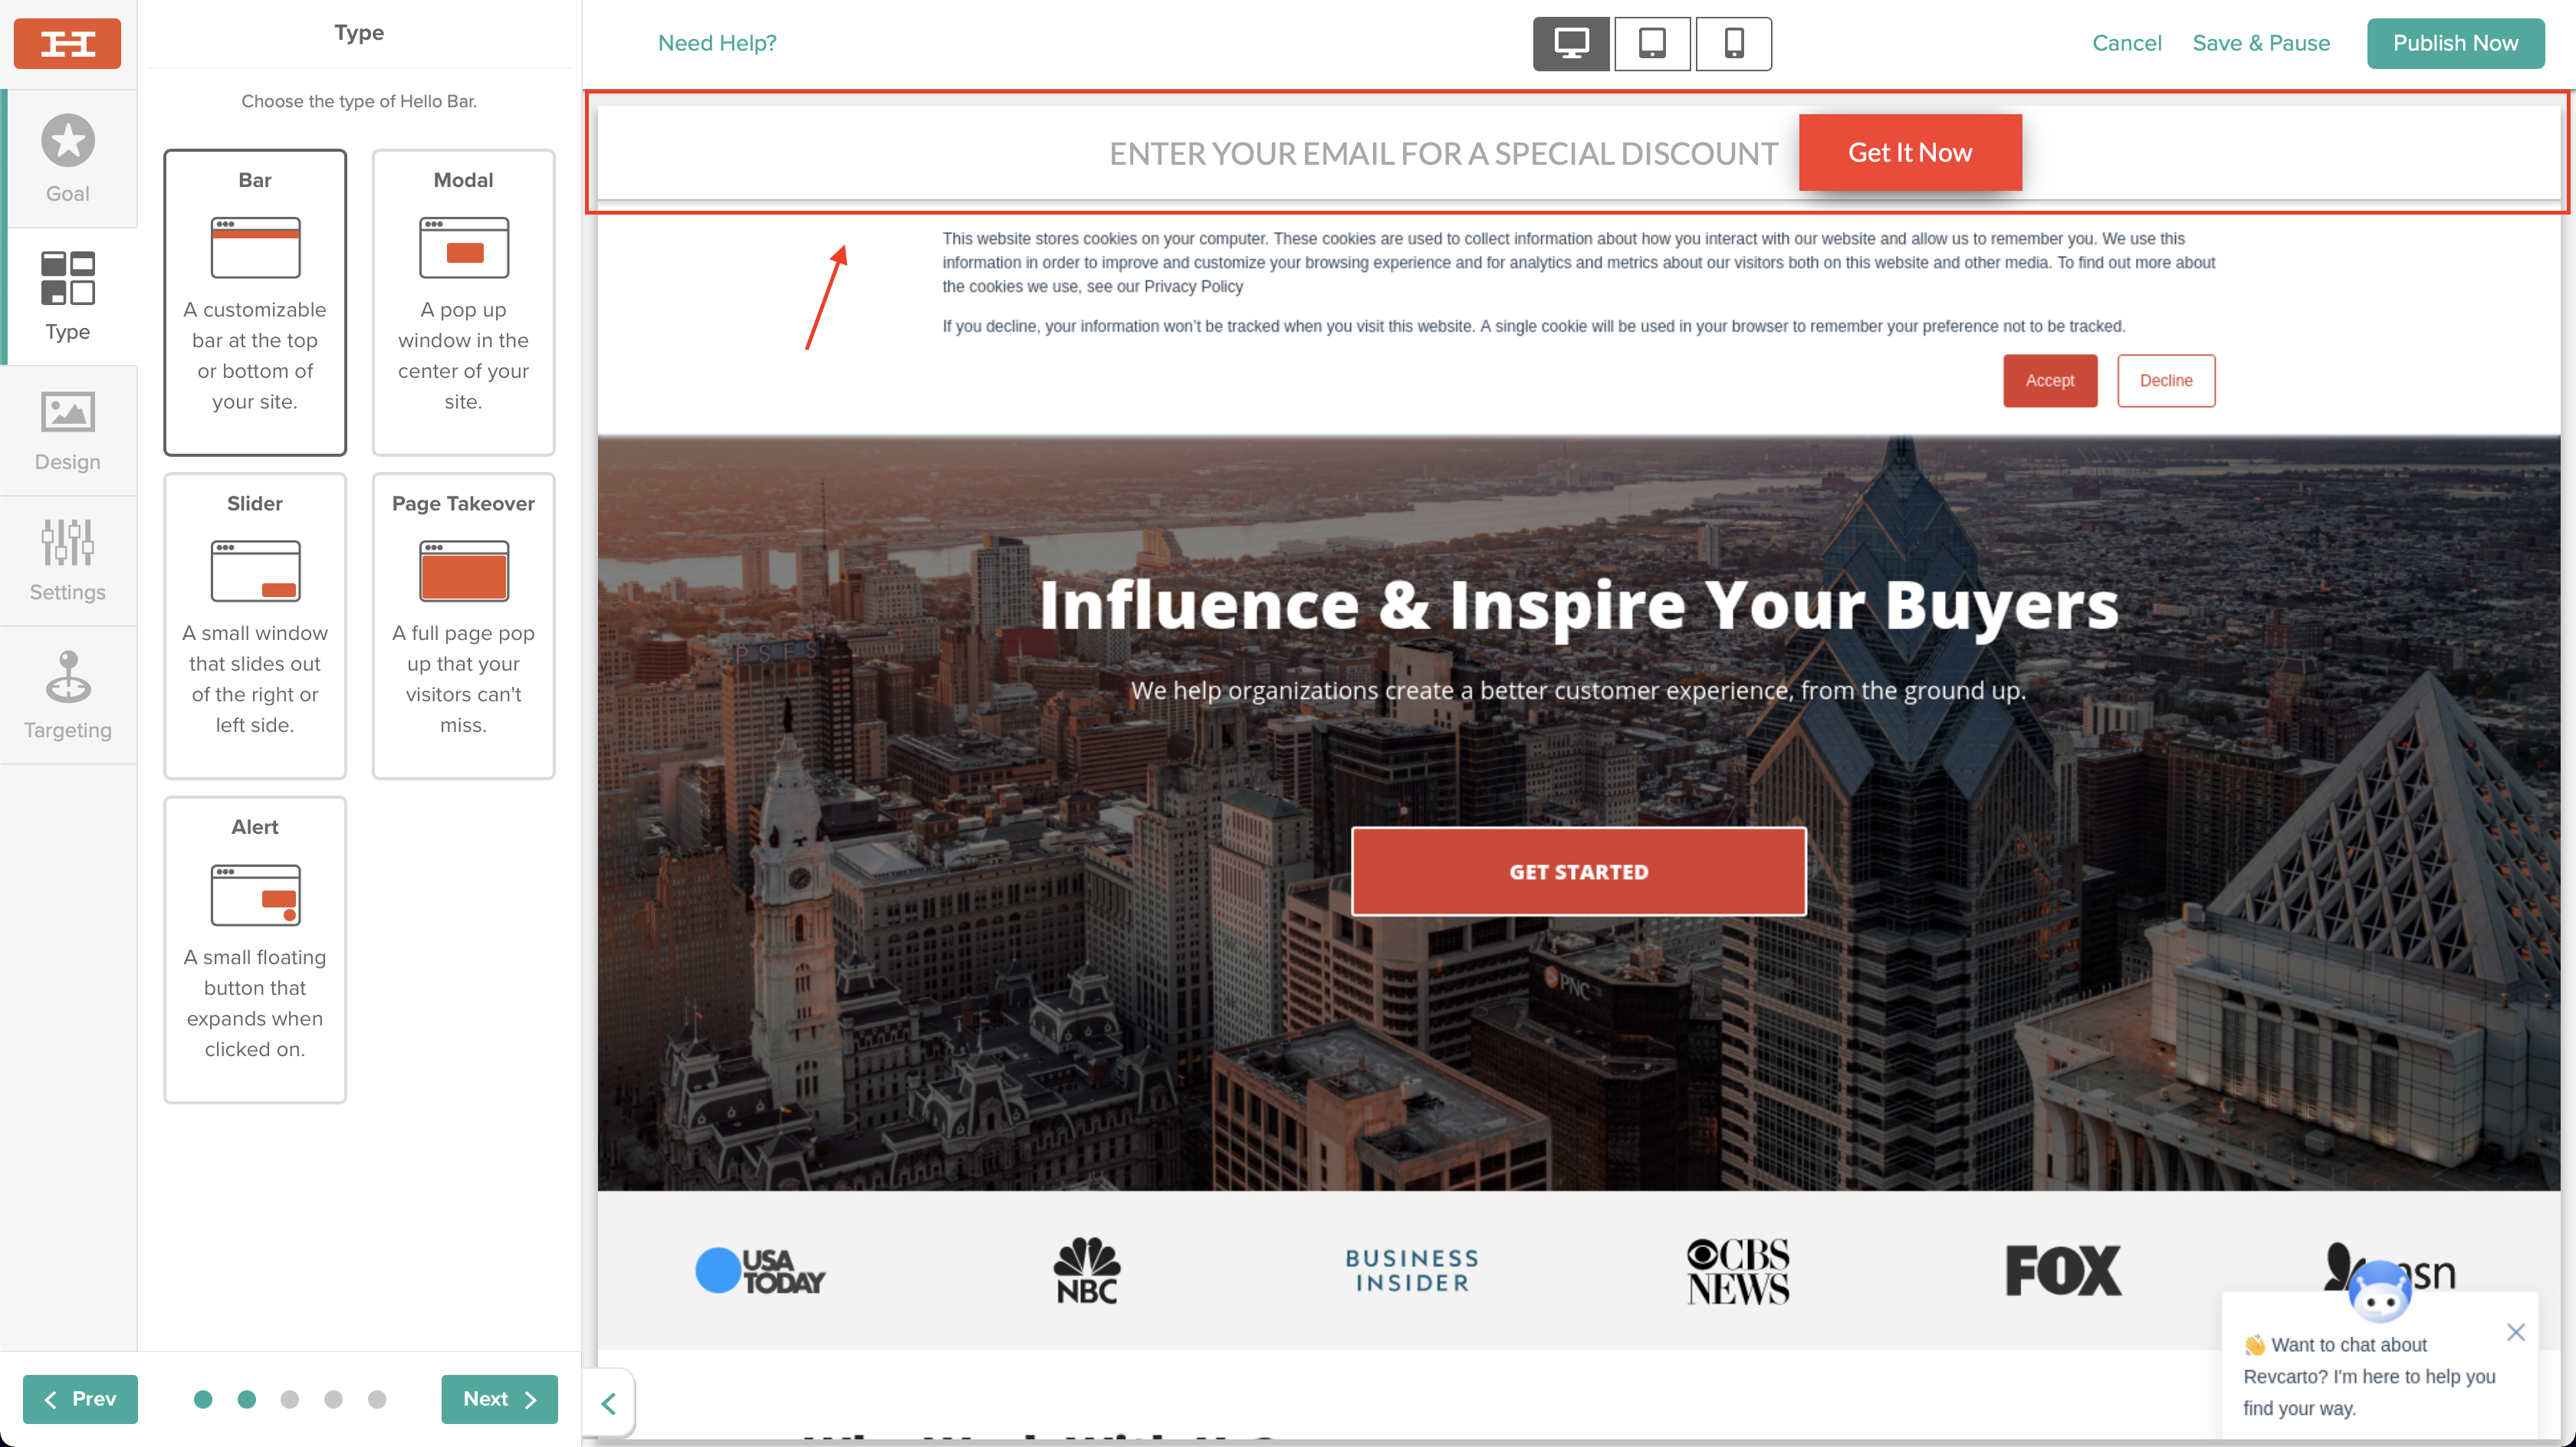
All right, guys. So this is Hello Bar.
An example of a "Hello Bar" is what you're seeing up at the top of their site that says Get Started.
This is exactly what you can recreate for your own website.
You can add text and put any call-to-action inside.
It also gives you the ability to link out to a different website or one of your landing pages.
You can even make it a phone number so that people can call you directly from your website.
And they also have pop-ups, screen takeovers, and sliders as well.
You can add certain features to your bars and pop-ups such as exit intent.
It's a really robust software, so let's dive into it.
Step 1. Create a free account
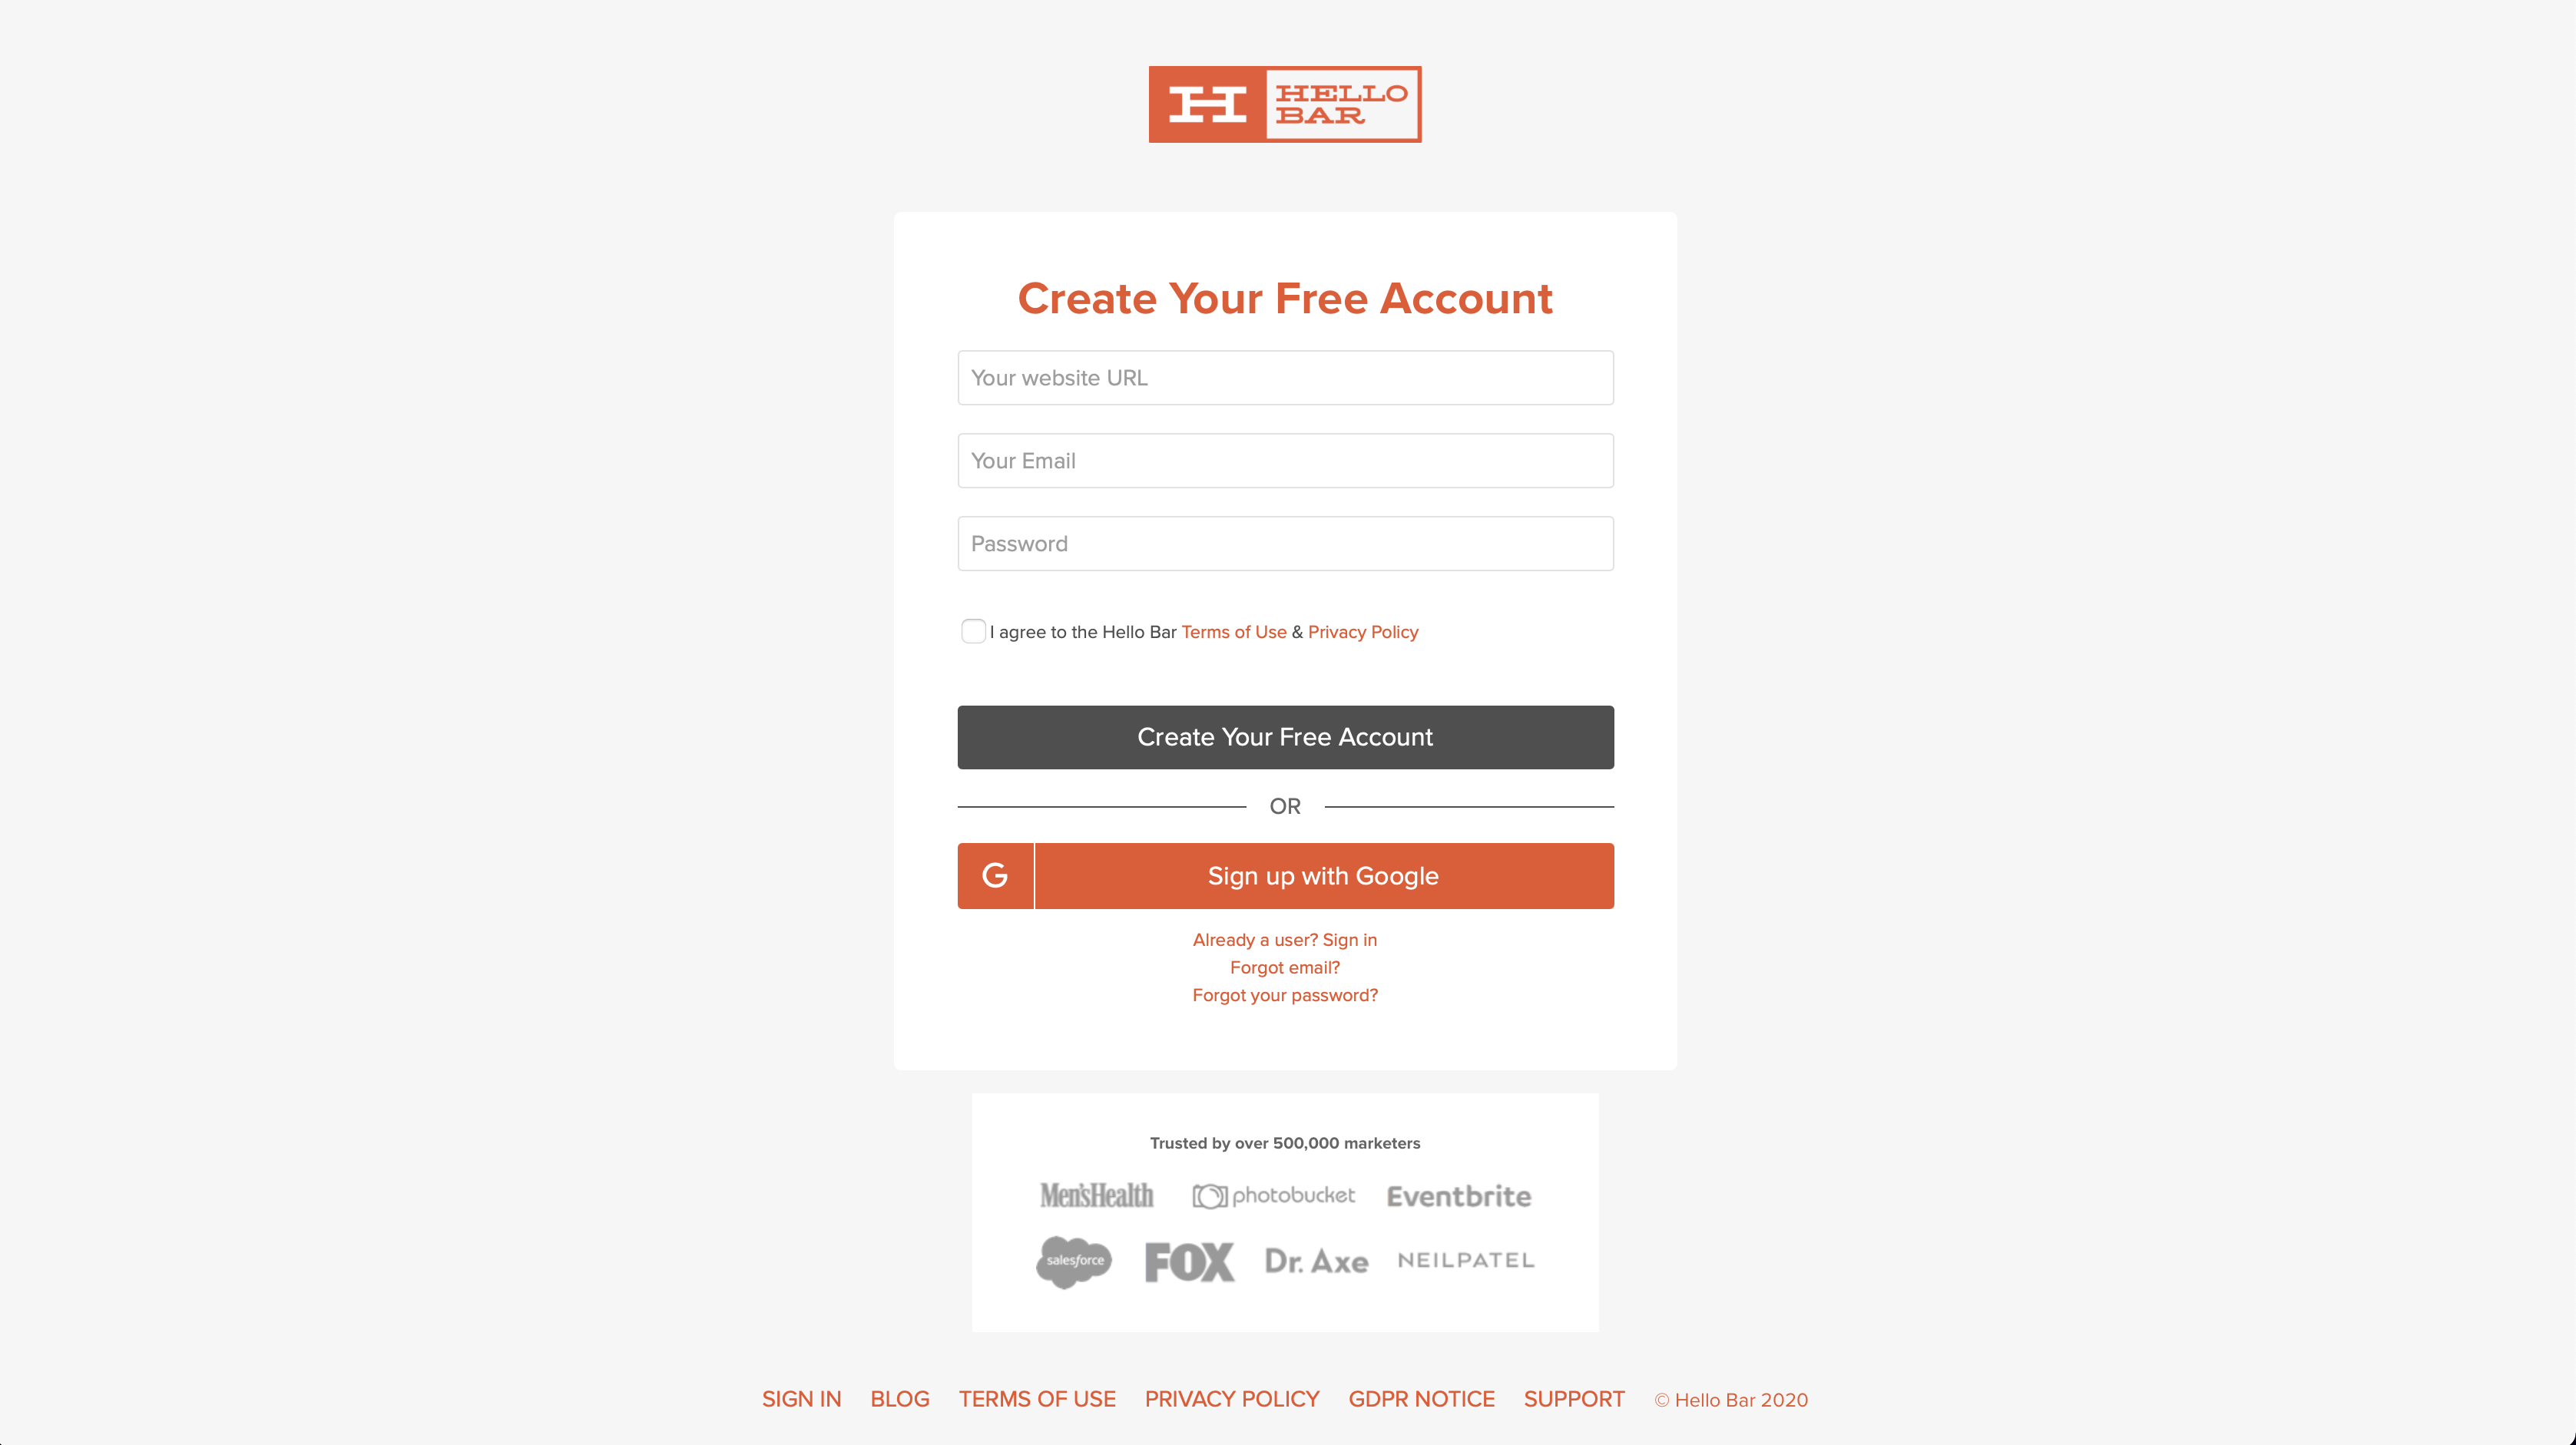
You're going to want to make a free account.
Their Starter tier, which is free forever, gives you a up to 5,000 views per month.
If you are just getting started this tier will do you just fine.
You also get up to 10 different pop-ups.
The best part is that you can upgrade to higher tiers as your needs grow.
They also have tons of templates for you to start from as well so no need to build from scratch if you don't want to.
Once you make your account, you're going to want to sign in.
And as you can see, you'll be greeted with a dashboard that shows your activity, views, and a bunch of other metrics.
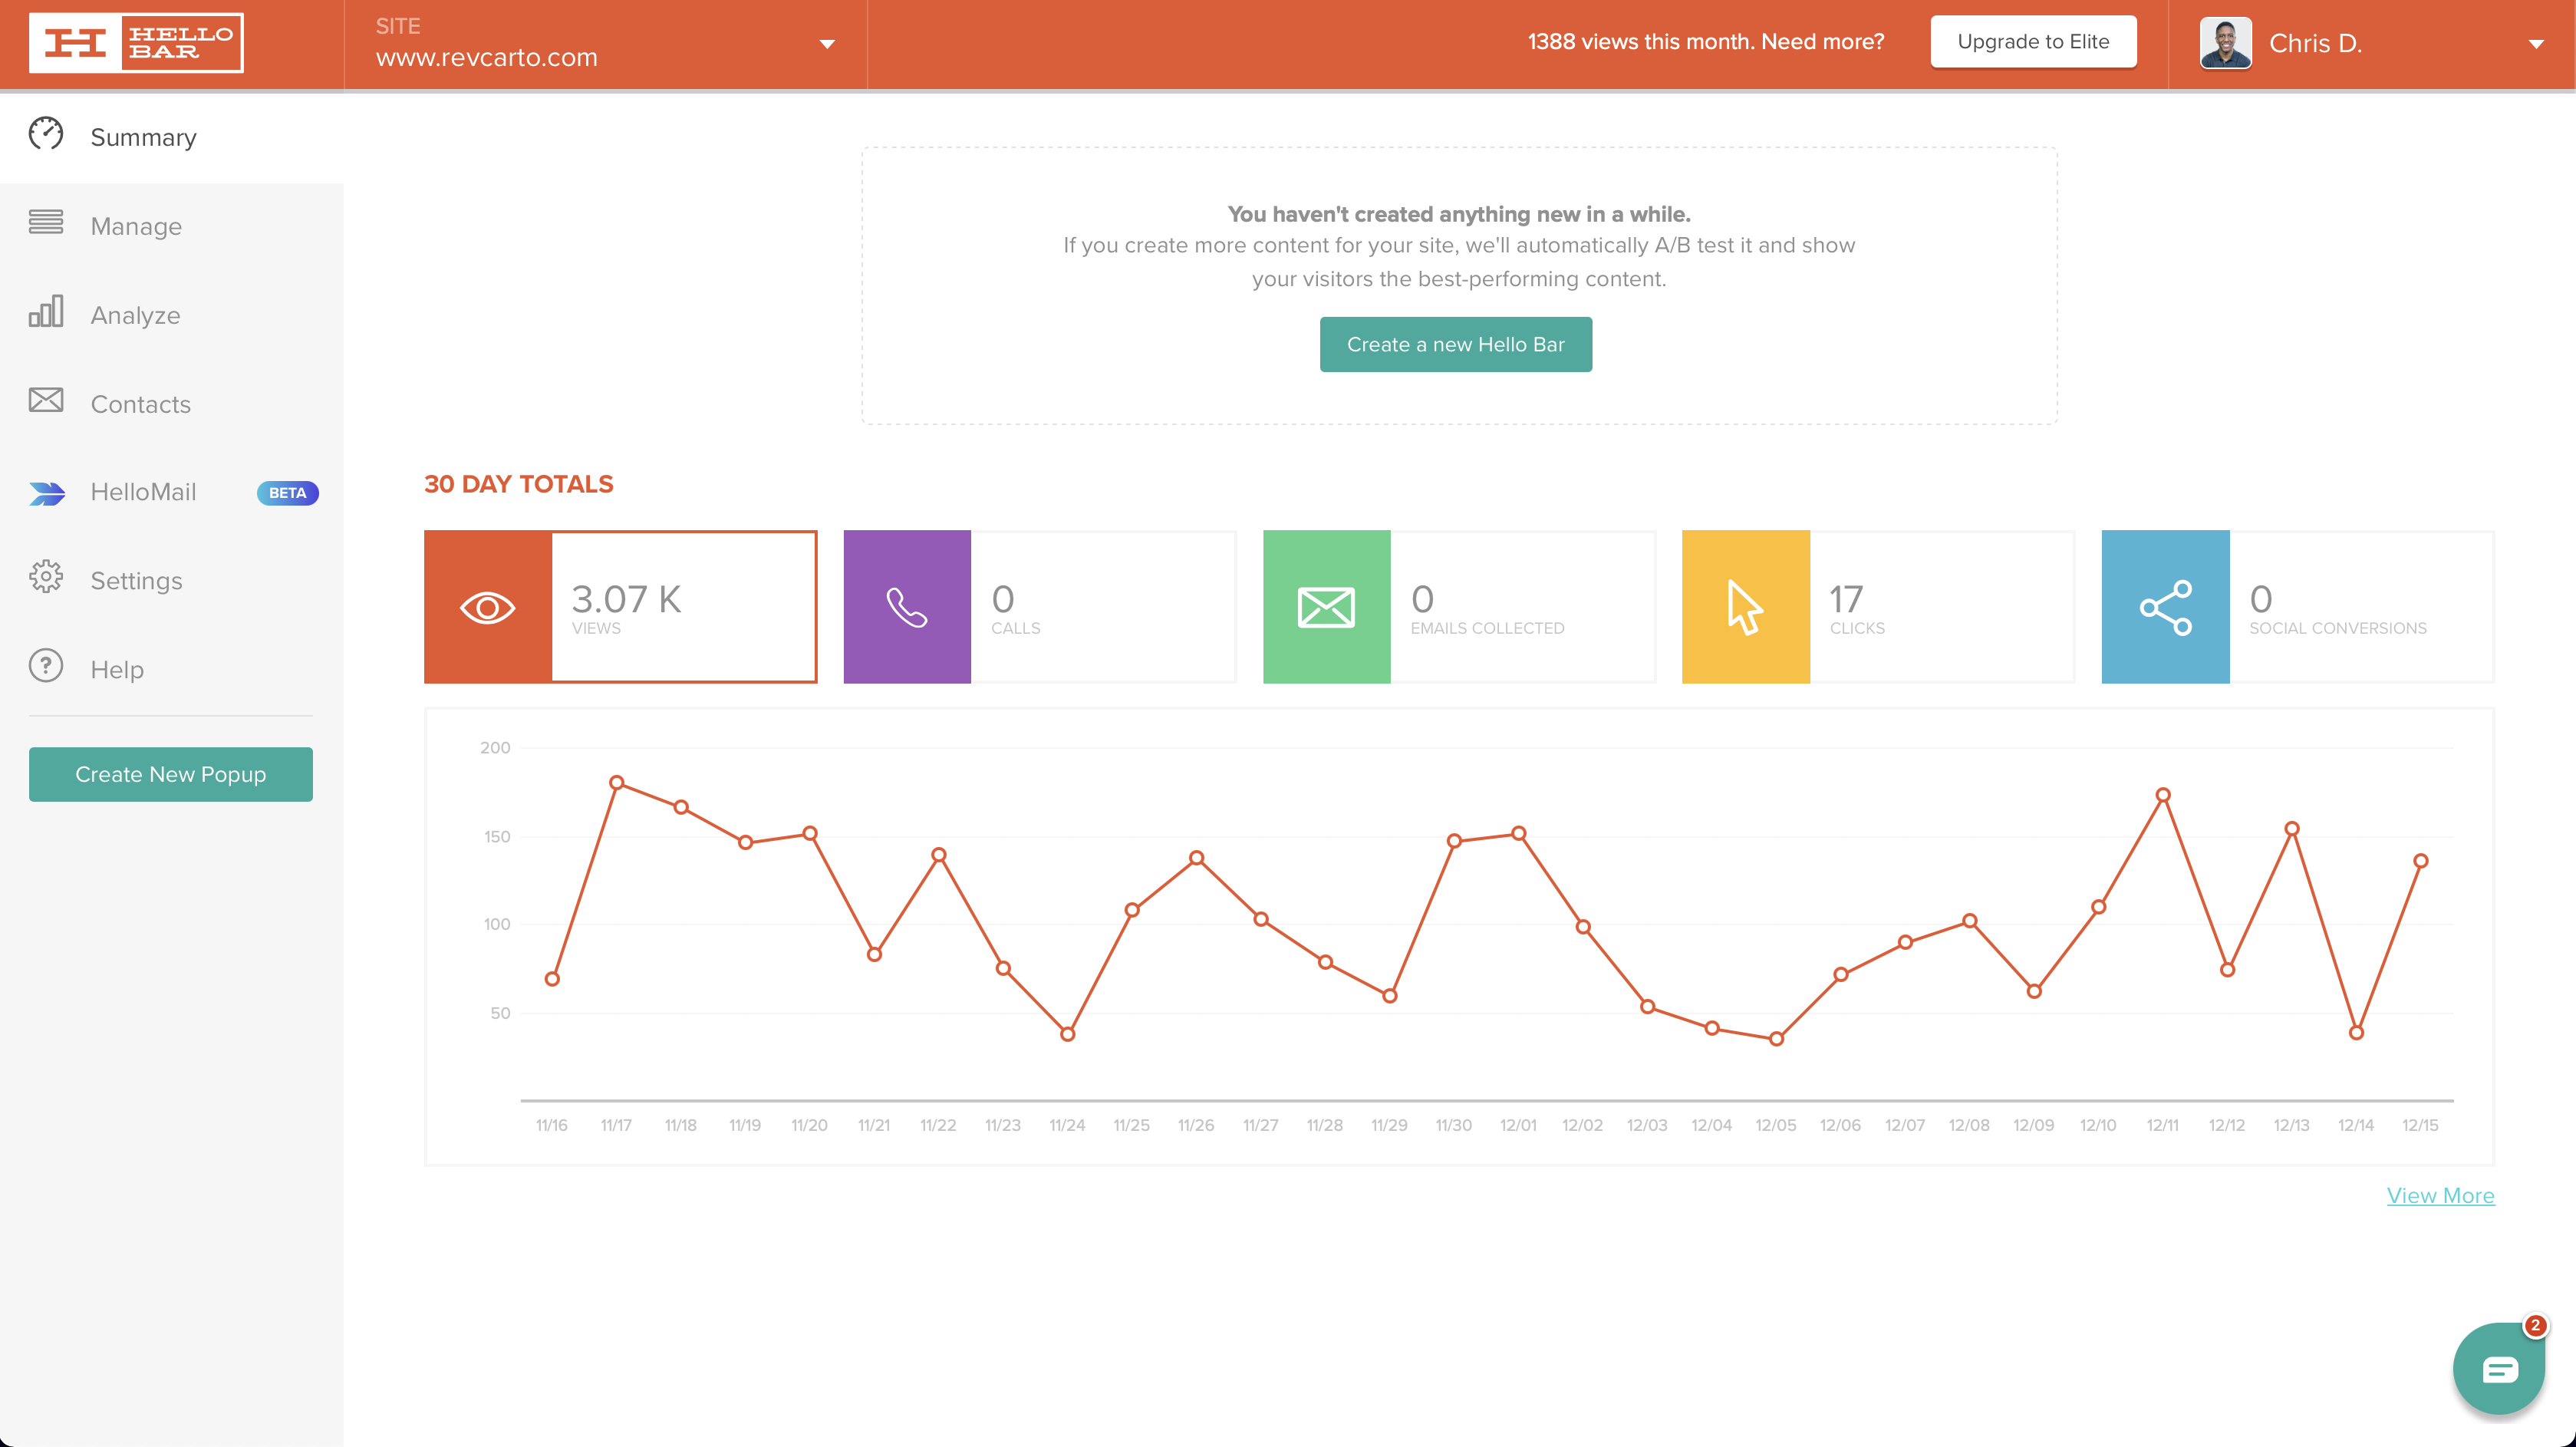
You'll be greeted with your dashboard, which shows you how many views your pop-ups have gotten, phone calls, email sign-ups, clicks, and even shares.
You can also integrate with your email provider and actually build an email list from these.
A/B testing is a great feature as well–we do a lot of them with ours.
So let's create our first pop-up.
Step 2. Create your first pop-up
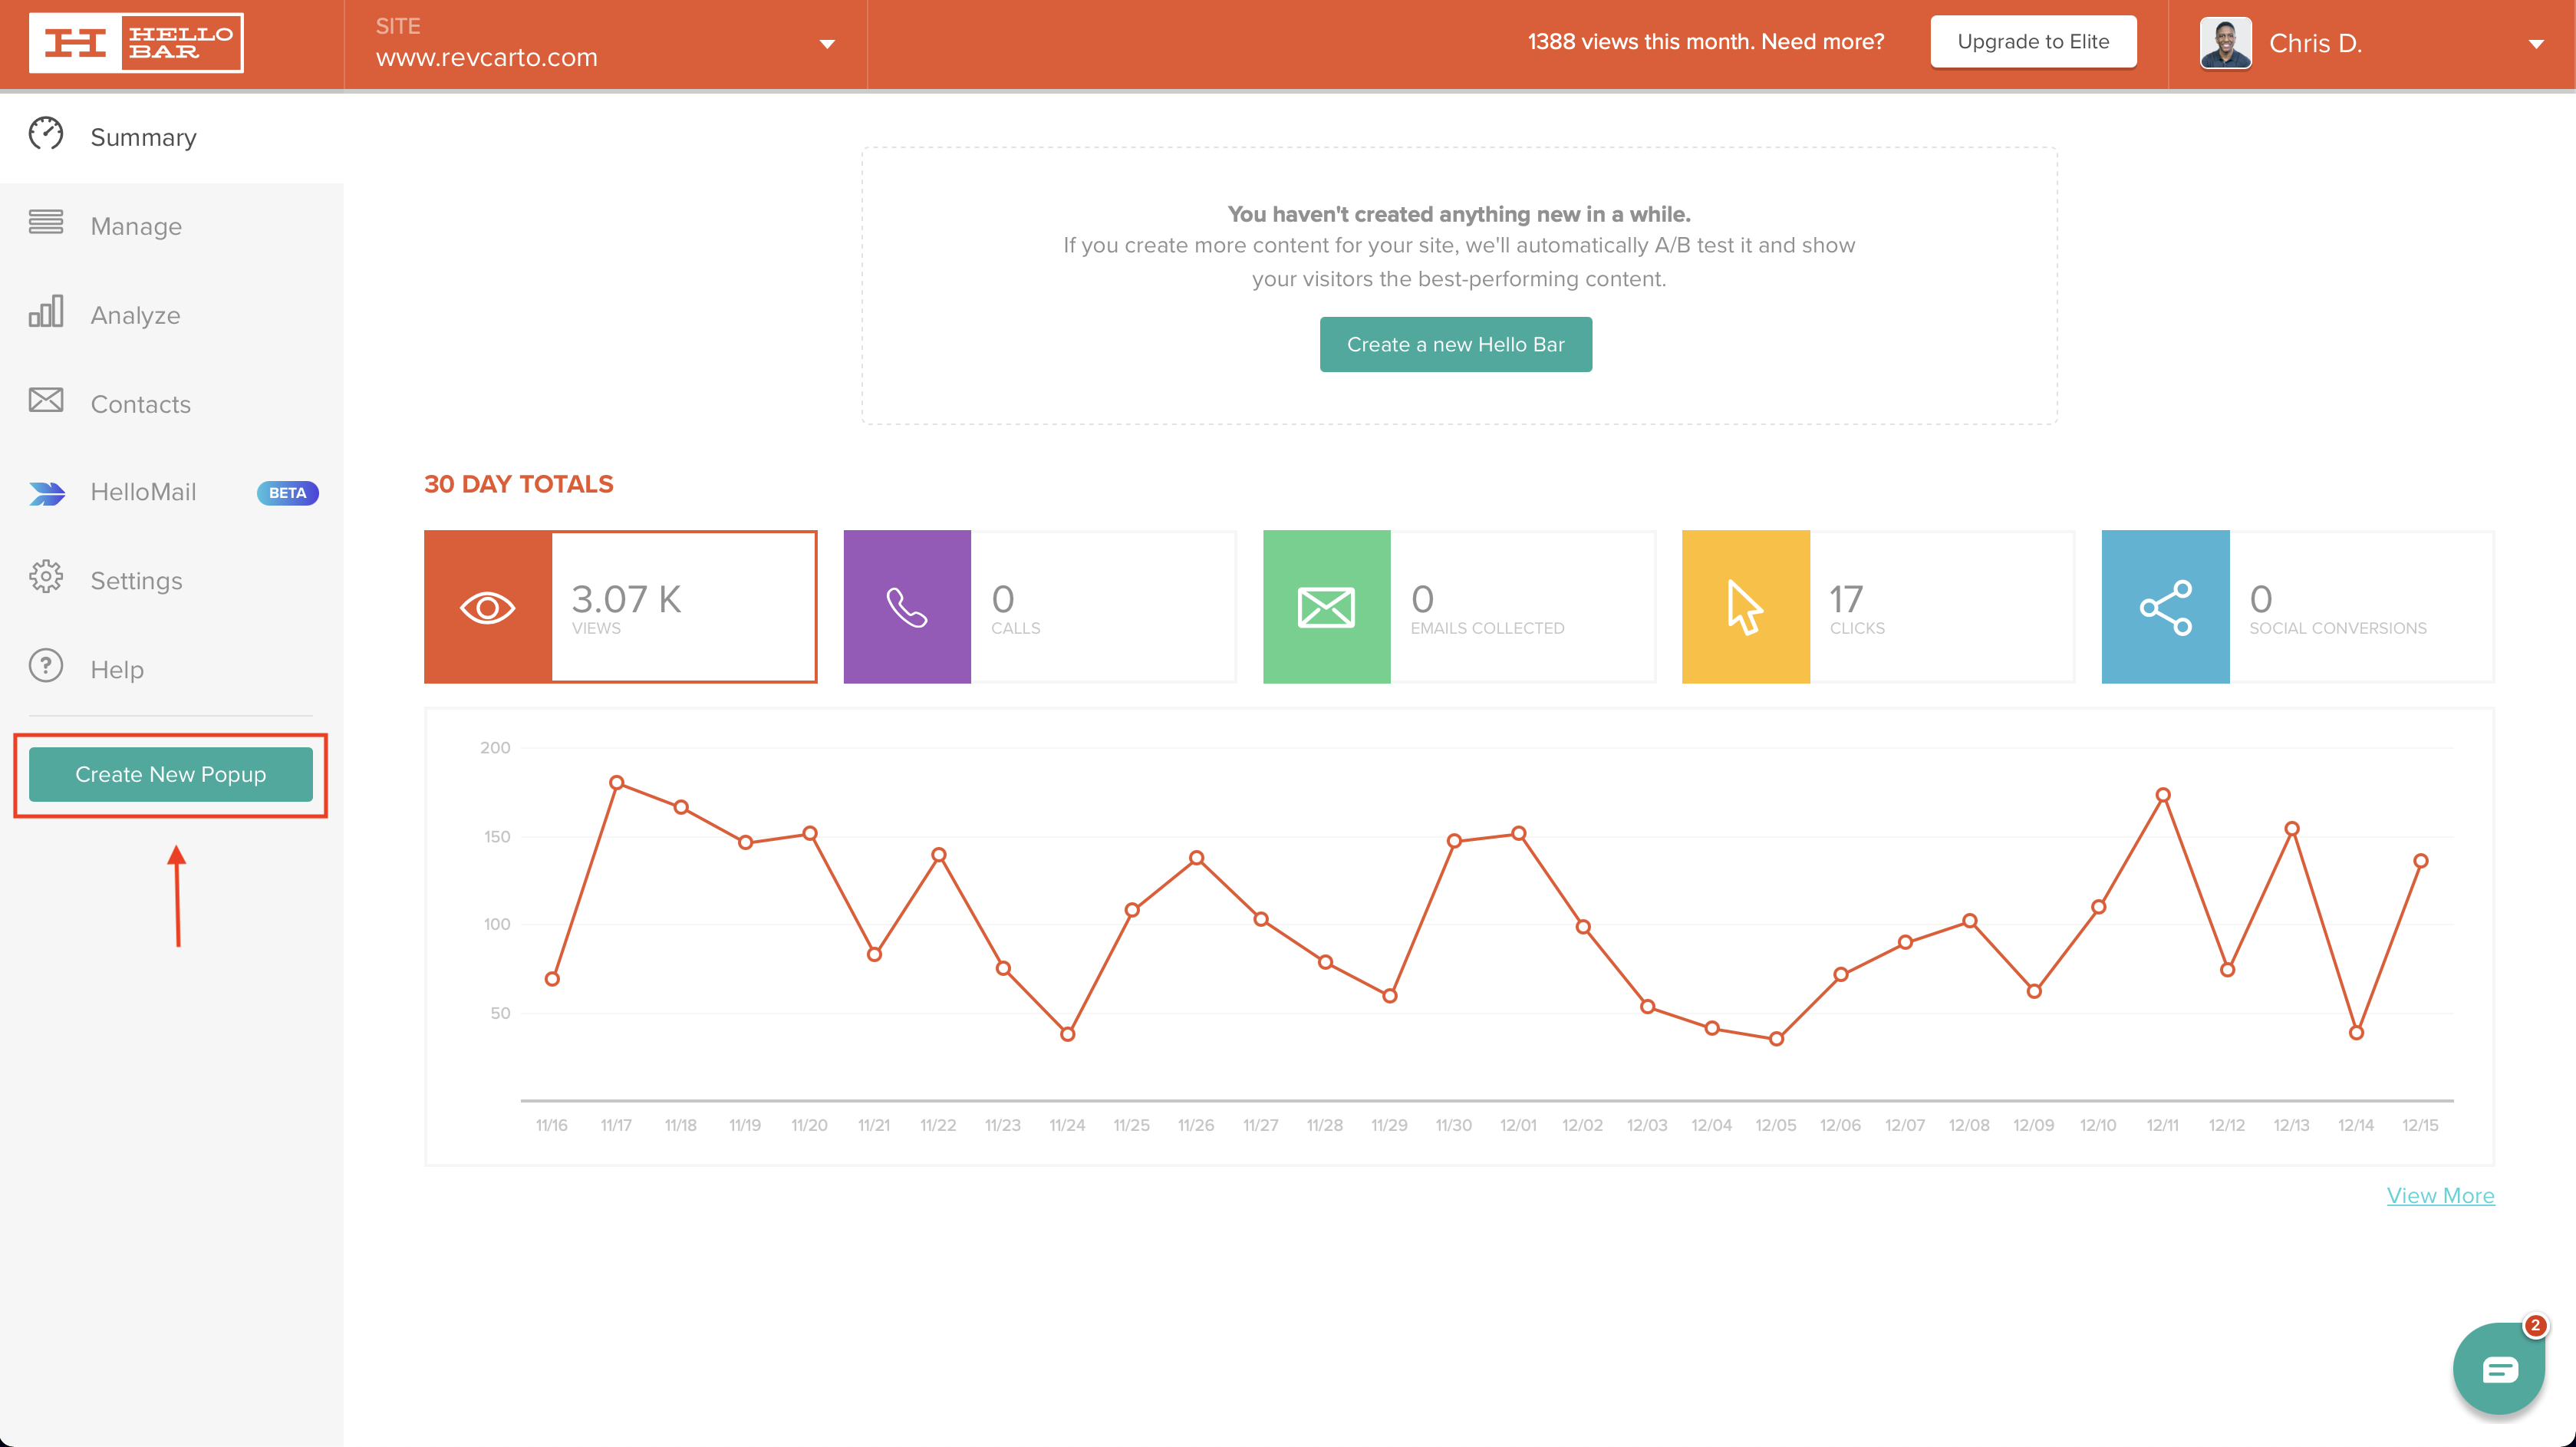
Click on Create a New Popup.
Here you'll see an screenshot of your website and a toolbar to the left.

This helps you see what it's going to look like on your website.
Now you'll want to choose your goal to start off.
Let's just try an easy target, a URL.
You can also use these popups to collect mails directly using Zapier, but we try to keep all of our stuff inside of our CRM.
So all of our pop-ups and things like that, we actually have inside of HubSpot, just because it's a lot easier.
I feel like having to use Zapier for some things can be a little counter-productive.
Step 3. Choose your goal
Typically, we'll usually choose Target a URL, bring it to a landing page, and then we have a HubSpot form on that page.

It just depends on what you want to do, but this is one of the most simple ways to get it done.
After you identify your goal, head down and click Next so you can choose what style you'd like.
Step 4. Pick a style
Like I mentioned earlier–they have bars, modals, sliders, and page takeovers, and alerts.
In my experience, sliders look the best on mobile, which is definitely something to take into consideration when you're building this out.
For this tutorial, we're just going to start with a bar.
As you can see, it already generates one right off the jump so you can see what that looks like.
We're going to click Next now so we can move to designing this bar.
Step 5. Design your pop-up
Seattle is kind of like the basic template that it starts you off with.
You can change that to whatever one you want–they have a ton.
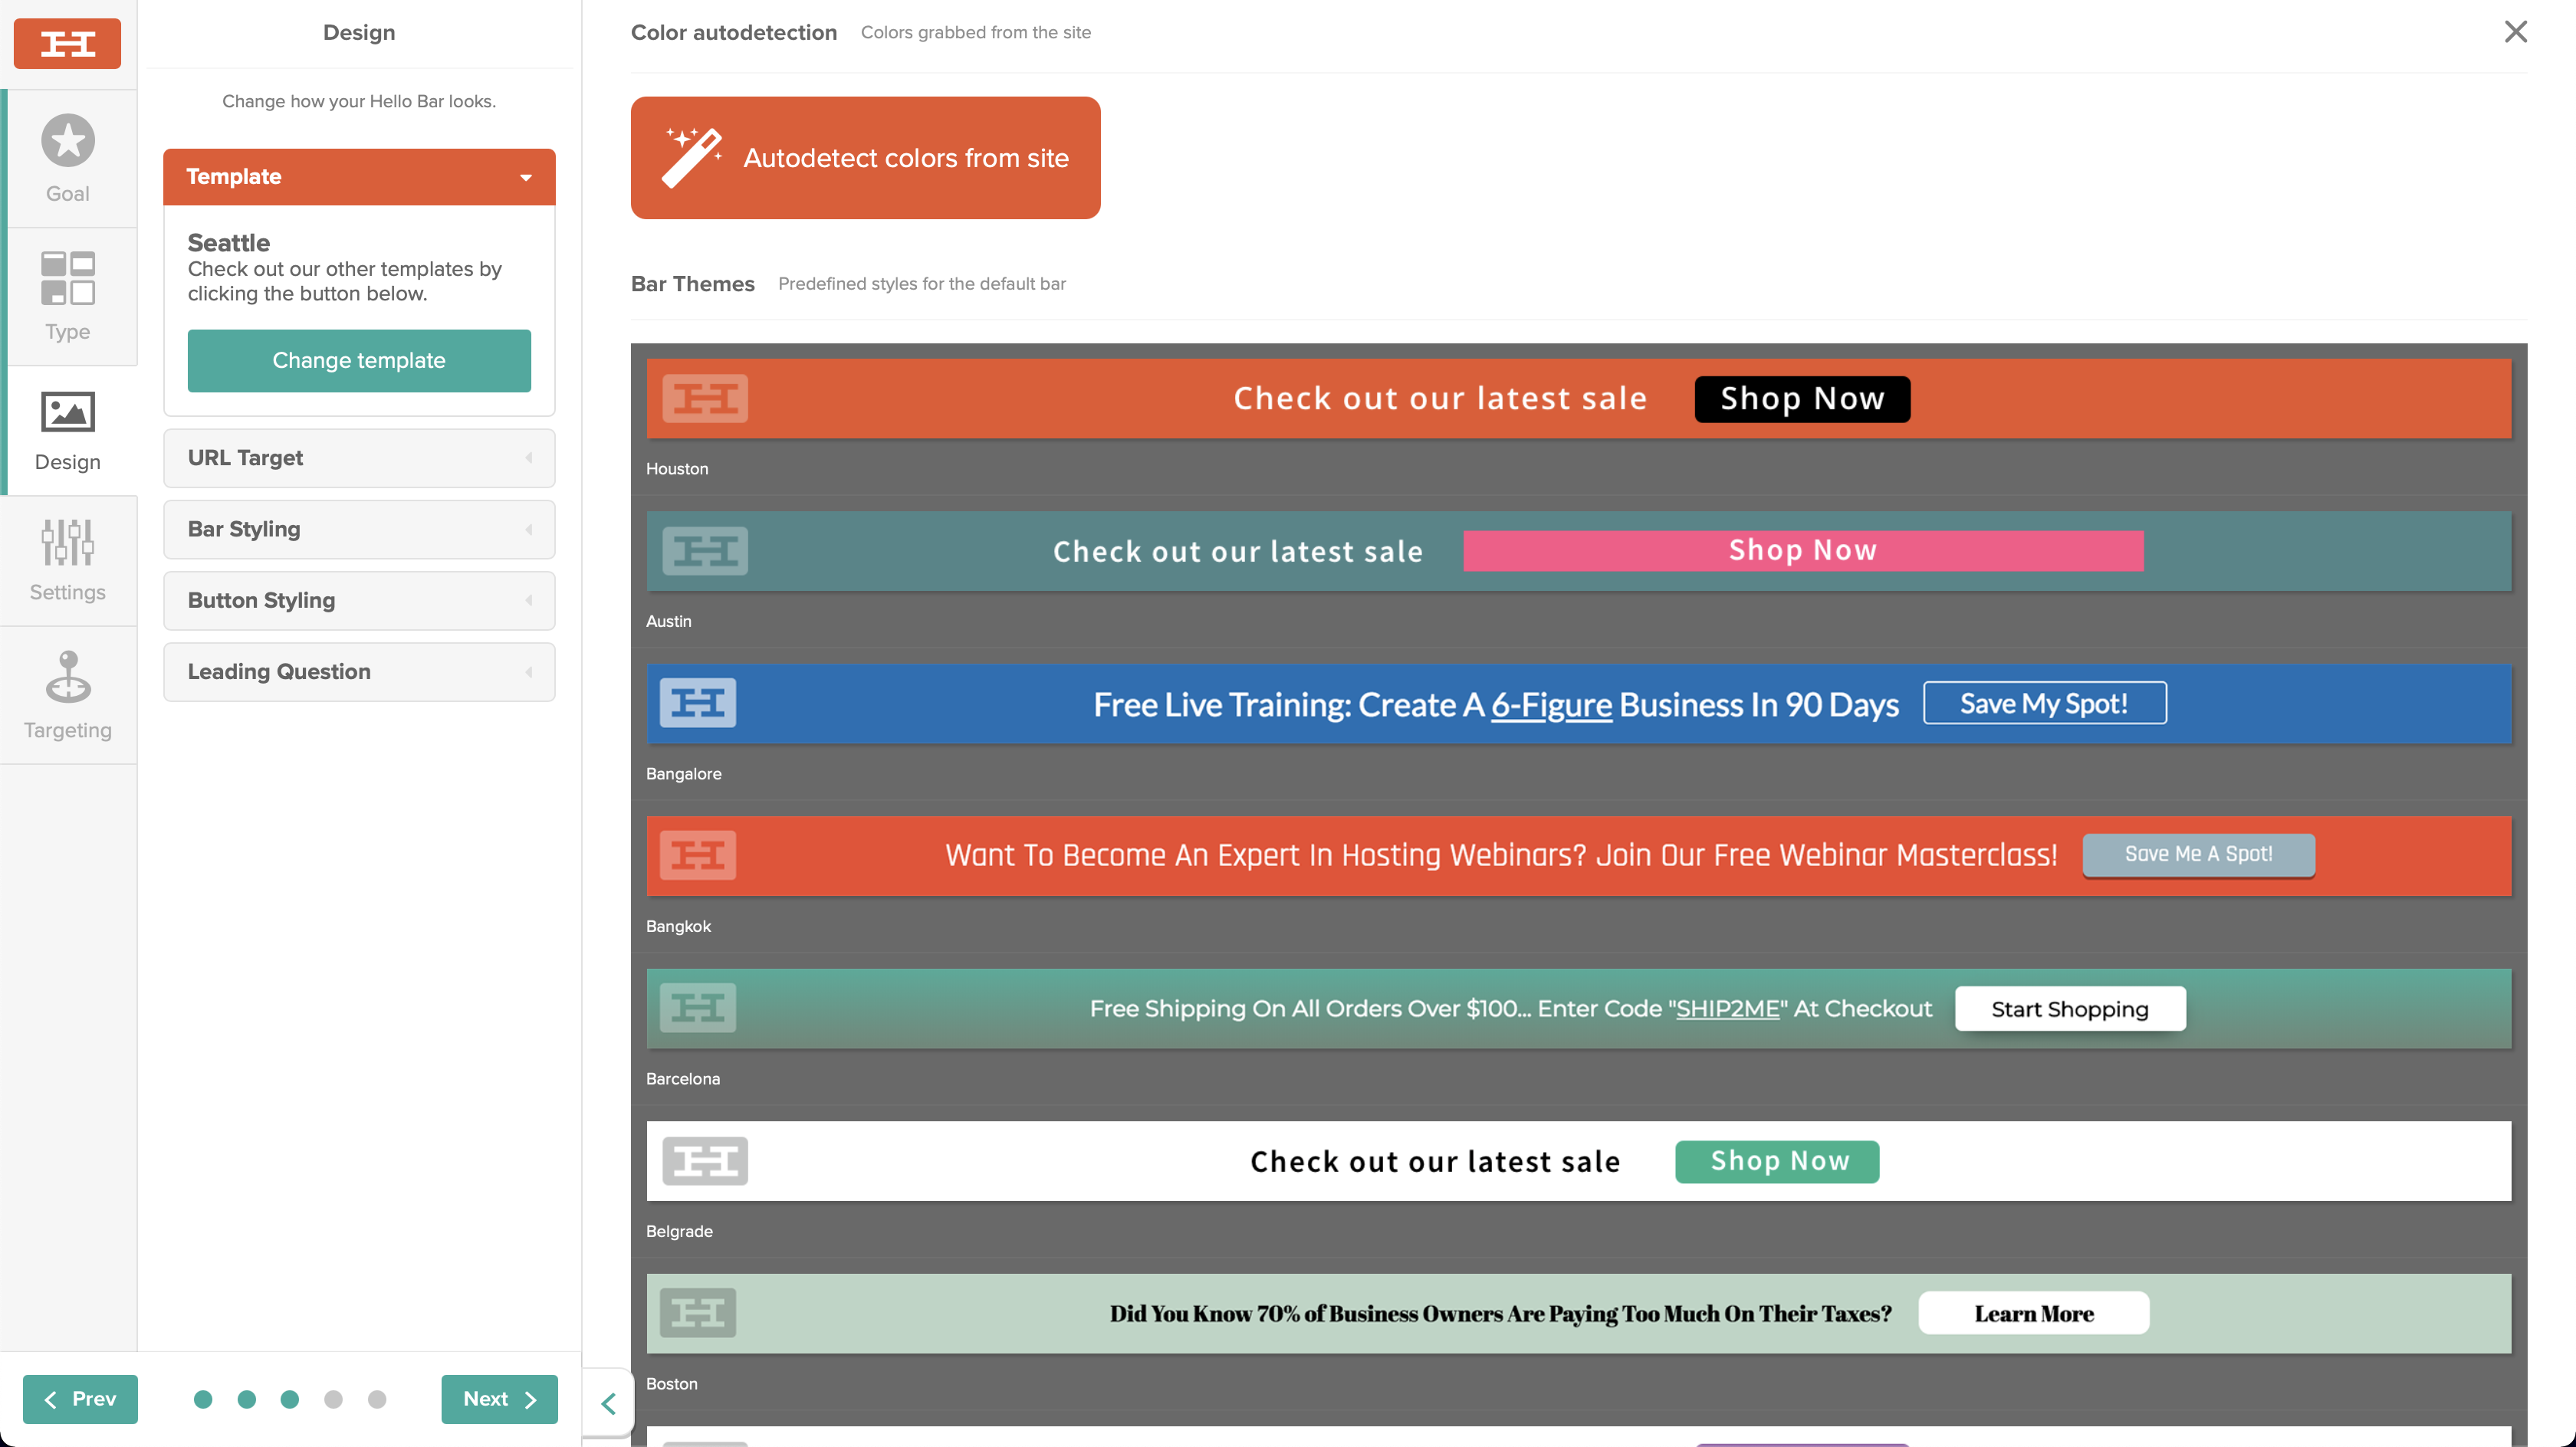
So once you click that, you can also auto detect the color from your website.
It's not always the most accurate but could save you some time on dropping your hex codes in each time you make one.
You can just go down this list and see what other templates that they have.
They're all fully customizable.
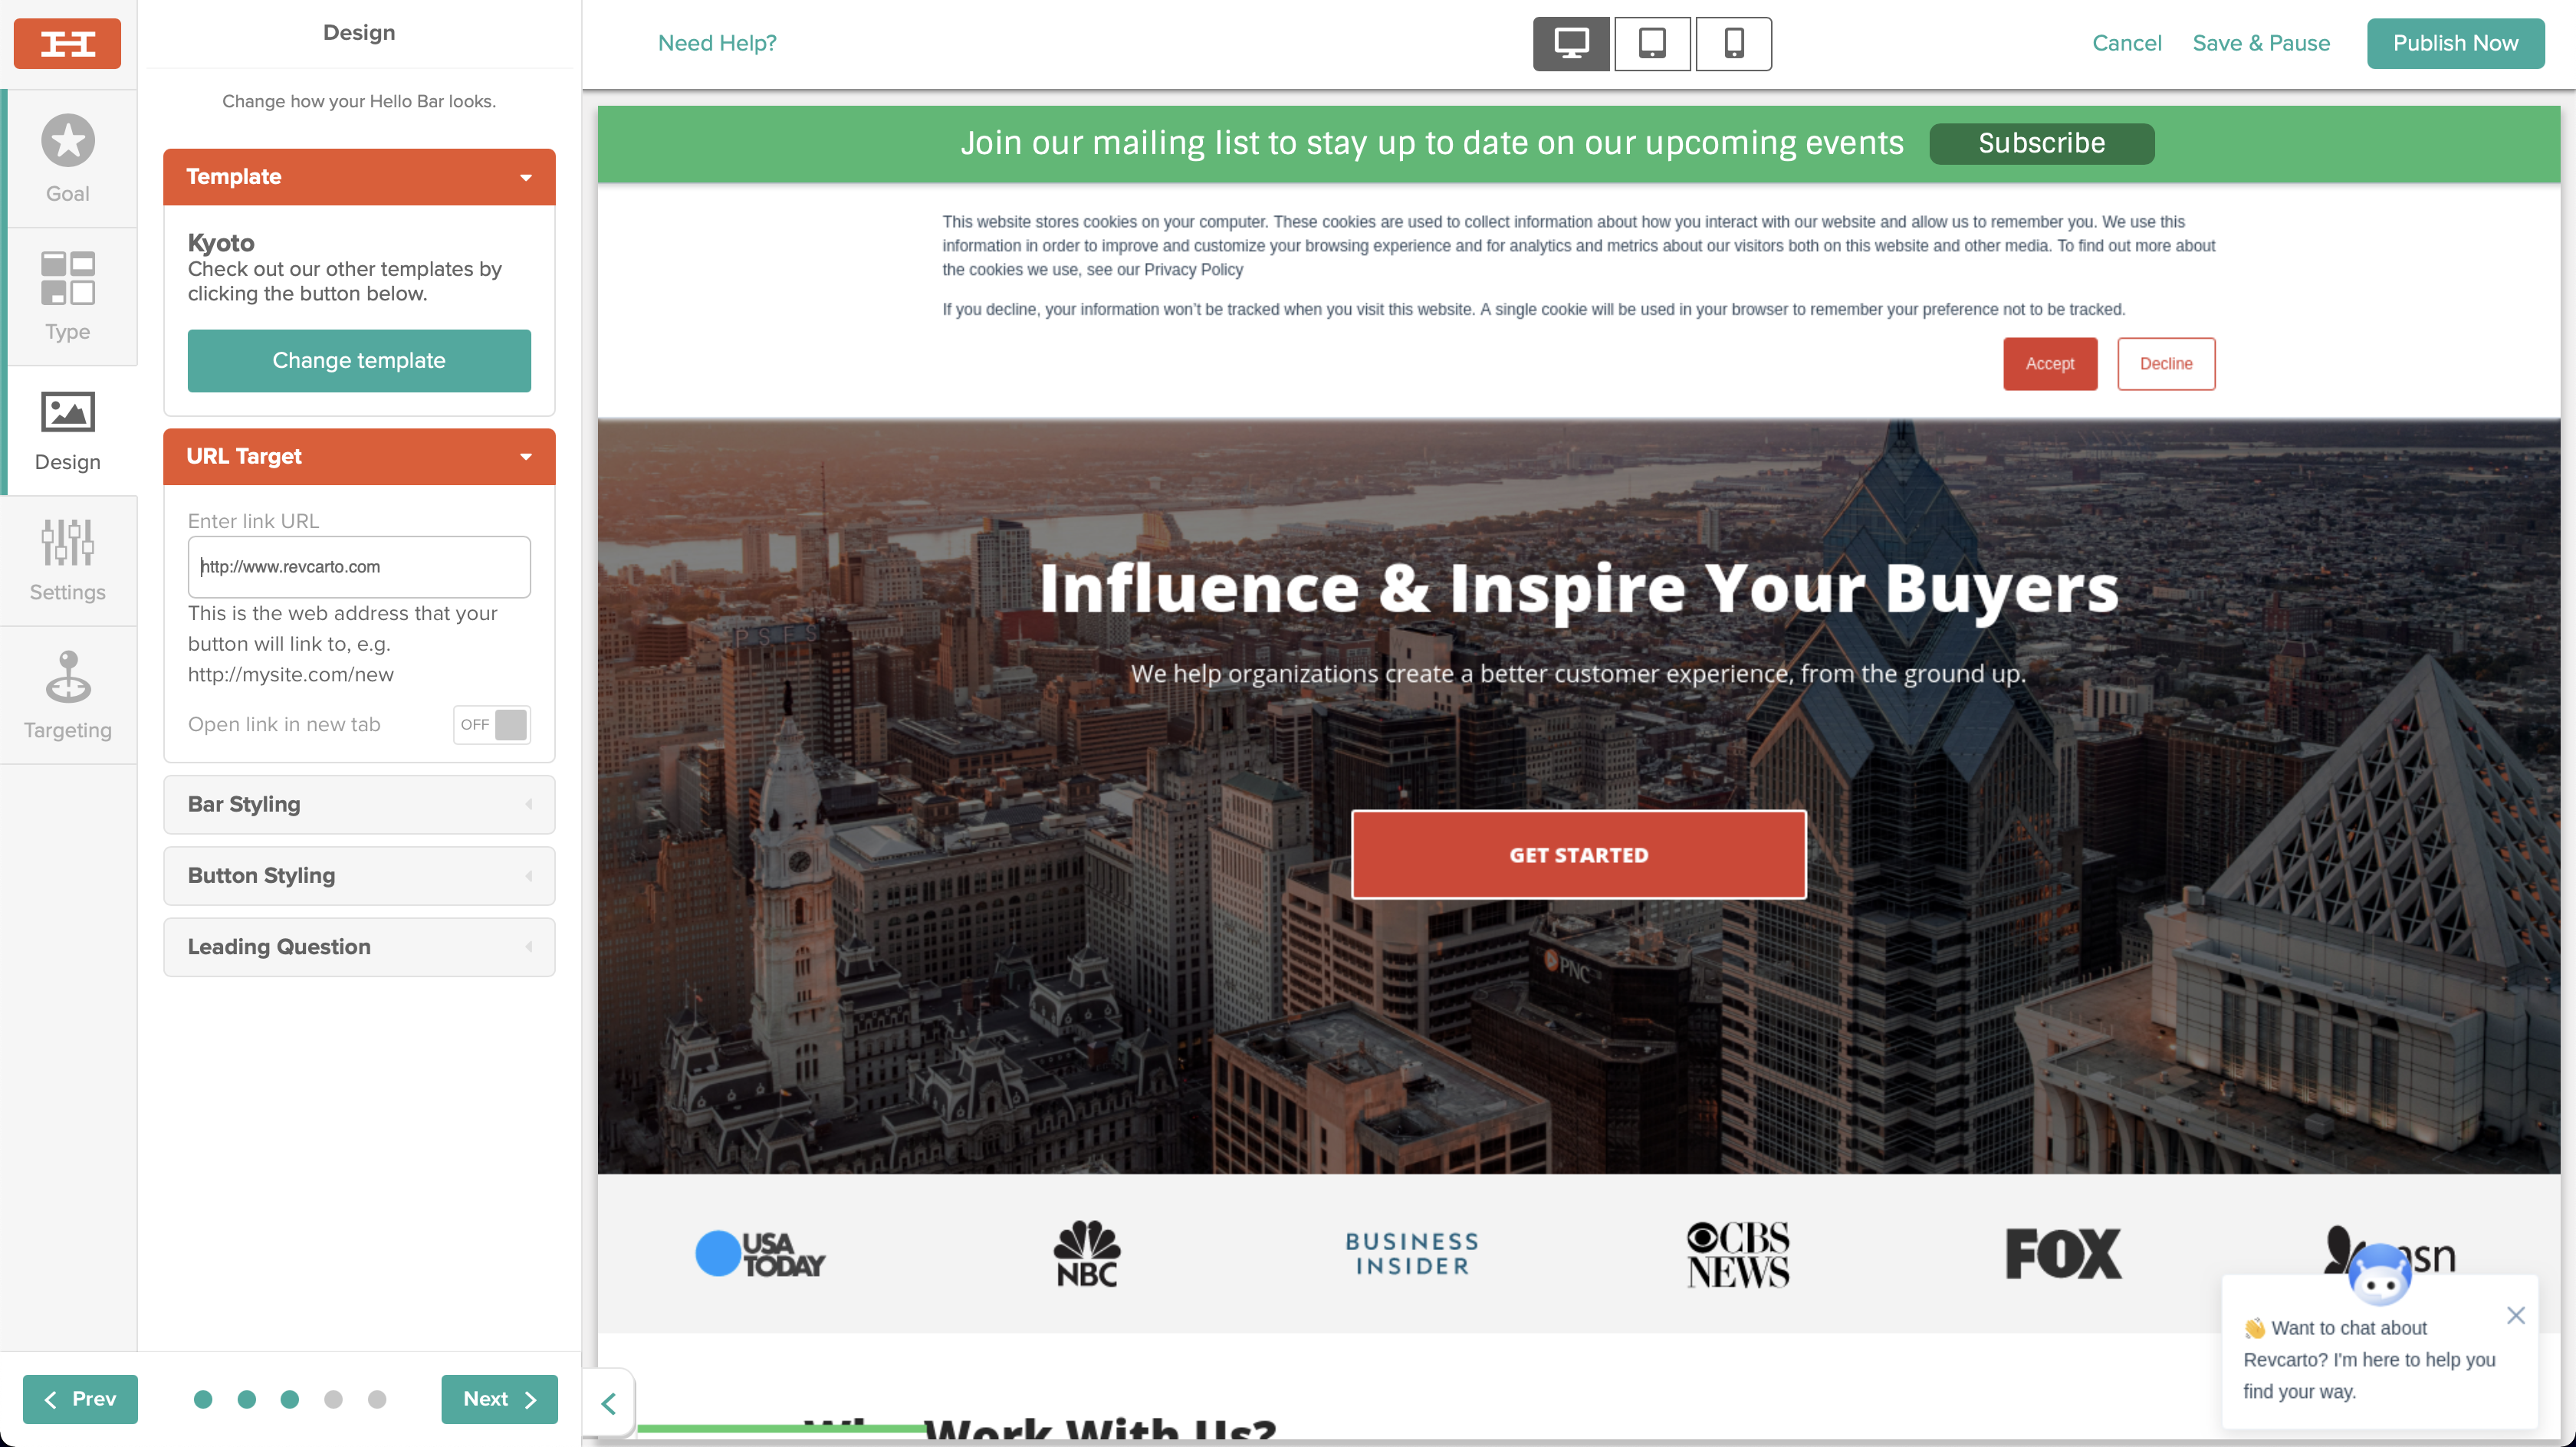
Using the tool bar to the left, you can choose what URL you want to target.
This one will just go to our website.
You can open in a new tab if you want (or not).
Bar Styling is pretty much choosing the color and fonts of the bar or popup you choose.
You can put your brand's hex codes in or change the font and it updates live for you right there.
Just hit Apply and it's done.
Placement will allow you to select between either the bottom or top of your page.
Not always the best option, but depending on what it is it might work for you.
We usually keep ours at the top, above our primary navigation bar.
You can also choose the bar's size, which will increase the padding of the top and bottom equally.
So you can make it either thicker or thinner.
Editing text is simple–it's all done by clicking and editing directly inside the preview.
Bold it, italicize it, underline it, whatever you want.
You can even add emojis, change the colors, anything like that.
One great feature of Hello Bar is the ability to add a Leading Question.
A leading questions is a question that will prompt the user to click one of two options in order to boost the clickthrough rate of your bar.
For example, you can have a leading question ask "First time here?", the visitor then clicks "Yes."
You then have a call to action for people who clicked Yes.
If the person clicks "No", you would have them see a different call to action.
So you can make that direct to wherever you want them to go.
After you're done with that and you're happy with the way it looks, then you can continue on to the next one.
Step 6. Edit your settings

These are even more sections where you can add more features.
Unless you have one of the paid tiers, you'll have to have the Hello Bar branding on your bar or pop-up.
It doesn't look horrible.
It's really just an "H" and people can click that then be brought to their site.
I've had the free tier for a long time and it's never bothered me.
You can also make your bar CTA wiggle so that it drops down and you can control the delay.
So it'll do that from time to time just to grab people's attention.
I think that was one of the coolest features about it.
Step 7. Add targeting
Finally, we want to go to Targeting.
This is pretty much who you want this to be seen by.
Is it people that visit your blog?
Is it people that land on this specific landing page?
You can control all of that.
They even have some preset exclusions in here as well.
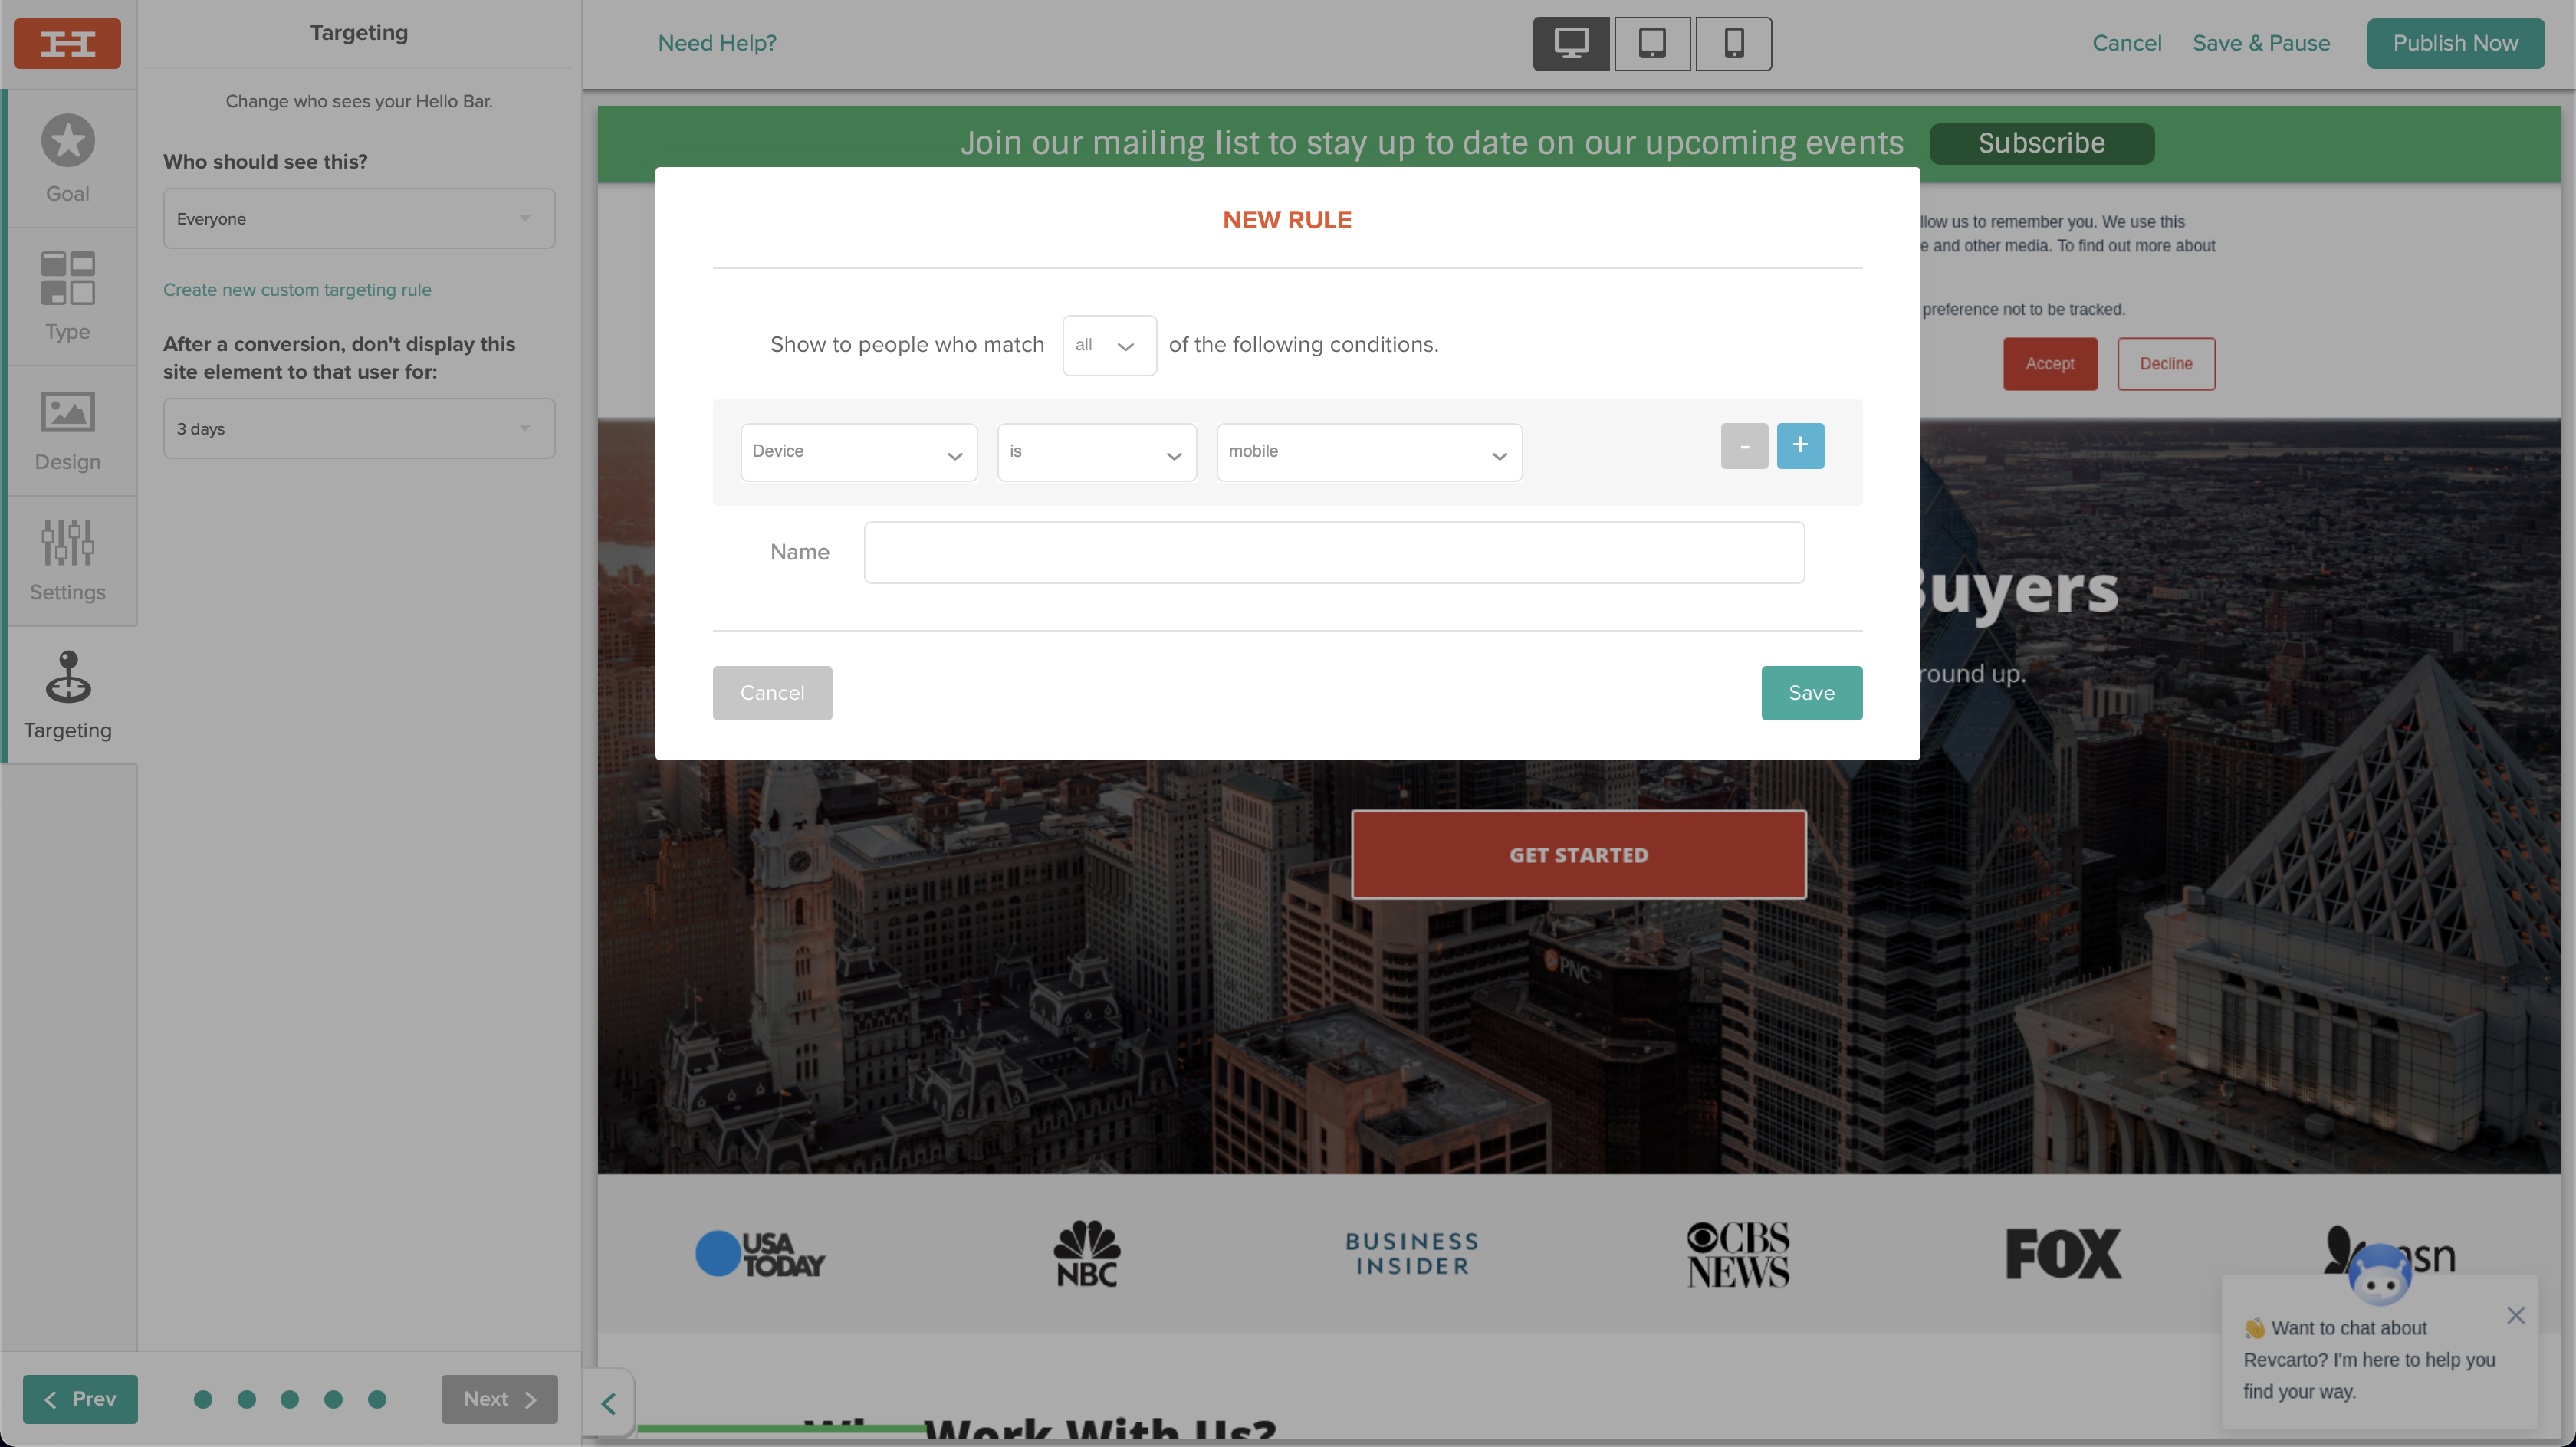
It comes with a preset for everyone, mobile, home page, and a few more.
So you could choose from any of these.
You can even stack them and add more.
Step 8. Publish your pop-up
And then after you're done all that, you'll click Publish Now, or if you're not ready for it to go live, click Save and Pause.

Once you close this, you're going to want to clear your cache so that you're able to see the updates on your site.
If you guys are looking to attract more people to opt into your campaigns from your website, I would definitely check this tool out–highly recommend it.
How are you getting your website visitors to convert?